How To Drive Traffic to Your Blog With Pinterest
March 31st, 2026 / µ

All Images © Haute Stock
How To Drive Traffic to Your Blog With Pinterest
One of the easiest ways to drive traffic to your blog is with Pinterest.
Pinterest is easy to use, and it has millions of daily users. And unlike Instagram, your posts, that is your pins, are not fighting for 2 seconds of fame when people doomscroll. No, your pins are like little ads that remain, live on, can be saved, and will be shown again and again – at the pleasure of the algorithm, of course.
Write Your Content
My blog is very niche, as in I write mostly about something with a very limited audience: gang-stalking. I use Pinterest to drive traffic, and even though my blog niche is minuscule, it has worked for me for years.
Most advice out there says you should have at least 20 blog posts before you start driving traffic, which makes sense. You don’t want to put in all that hard work to get people to your website or blog, only to have them be annoyed that it looks half-finished.
So, before you start pinning to drive traffic, write a sufficient amount of great content, check and update all SEO, categories, and tags to ensure everything is consistent and correct. Remember, layout is catchy, so when you publish blog posts, make sure they have not only catchy titles but also good structure and great imagery.
When you are sure you have enough content, create a Pinterest account (if you don’t already have one) and set up Pinterest boards that align with your blog niche or niches. I like to fill my board with pins in the right category BEFORE pinning to my own boards. A board with just one or two pins looks inactive. So, surf and save pins to your boards.
Customize Your Pins
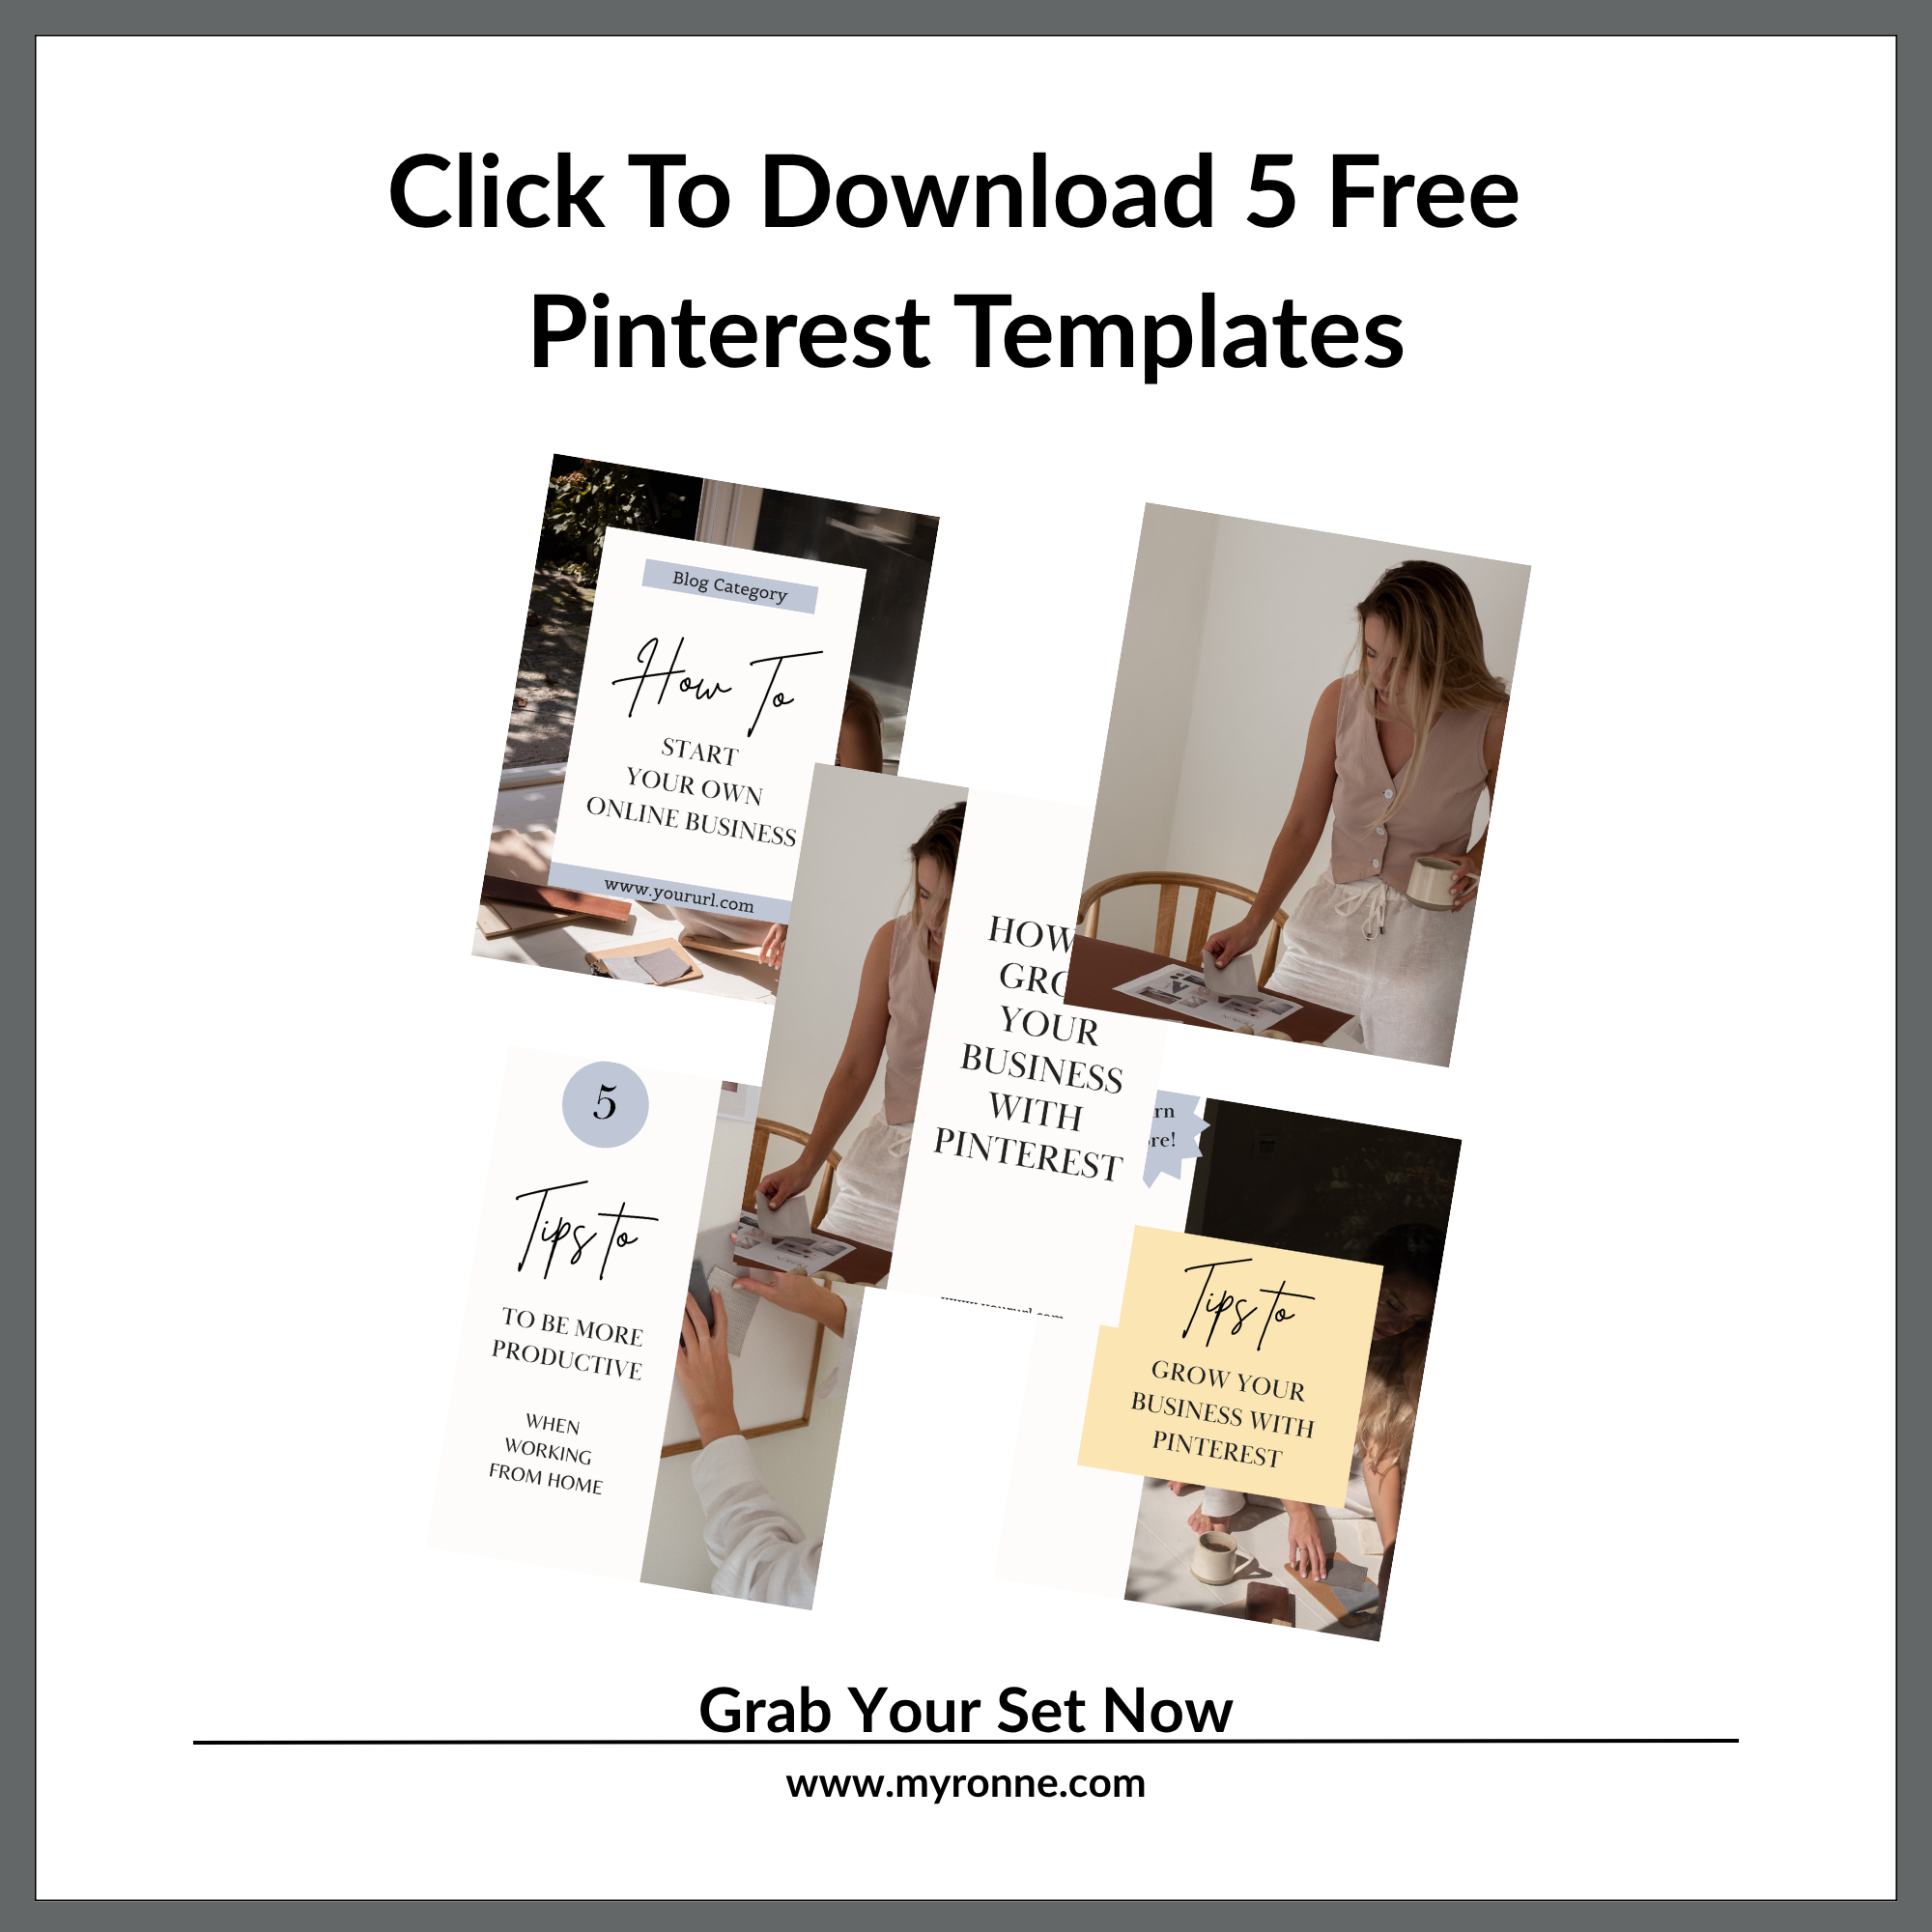
Now is the time to create a Canva account if you don’t already have one. You don’t need a paid account to create pins, but you do need a paid account to access all the features Canva offers. If you end up using Canva a lot, a paid account is a great idea, because Canva has so much to offer. But at first, you just need an account.
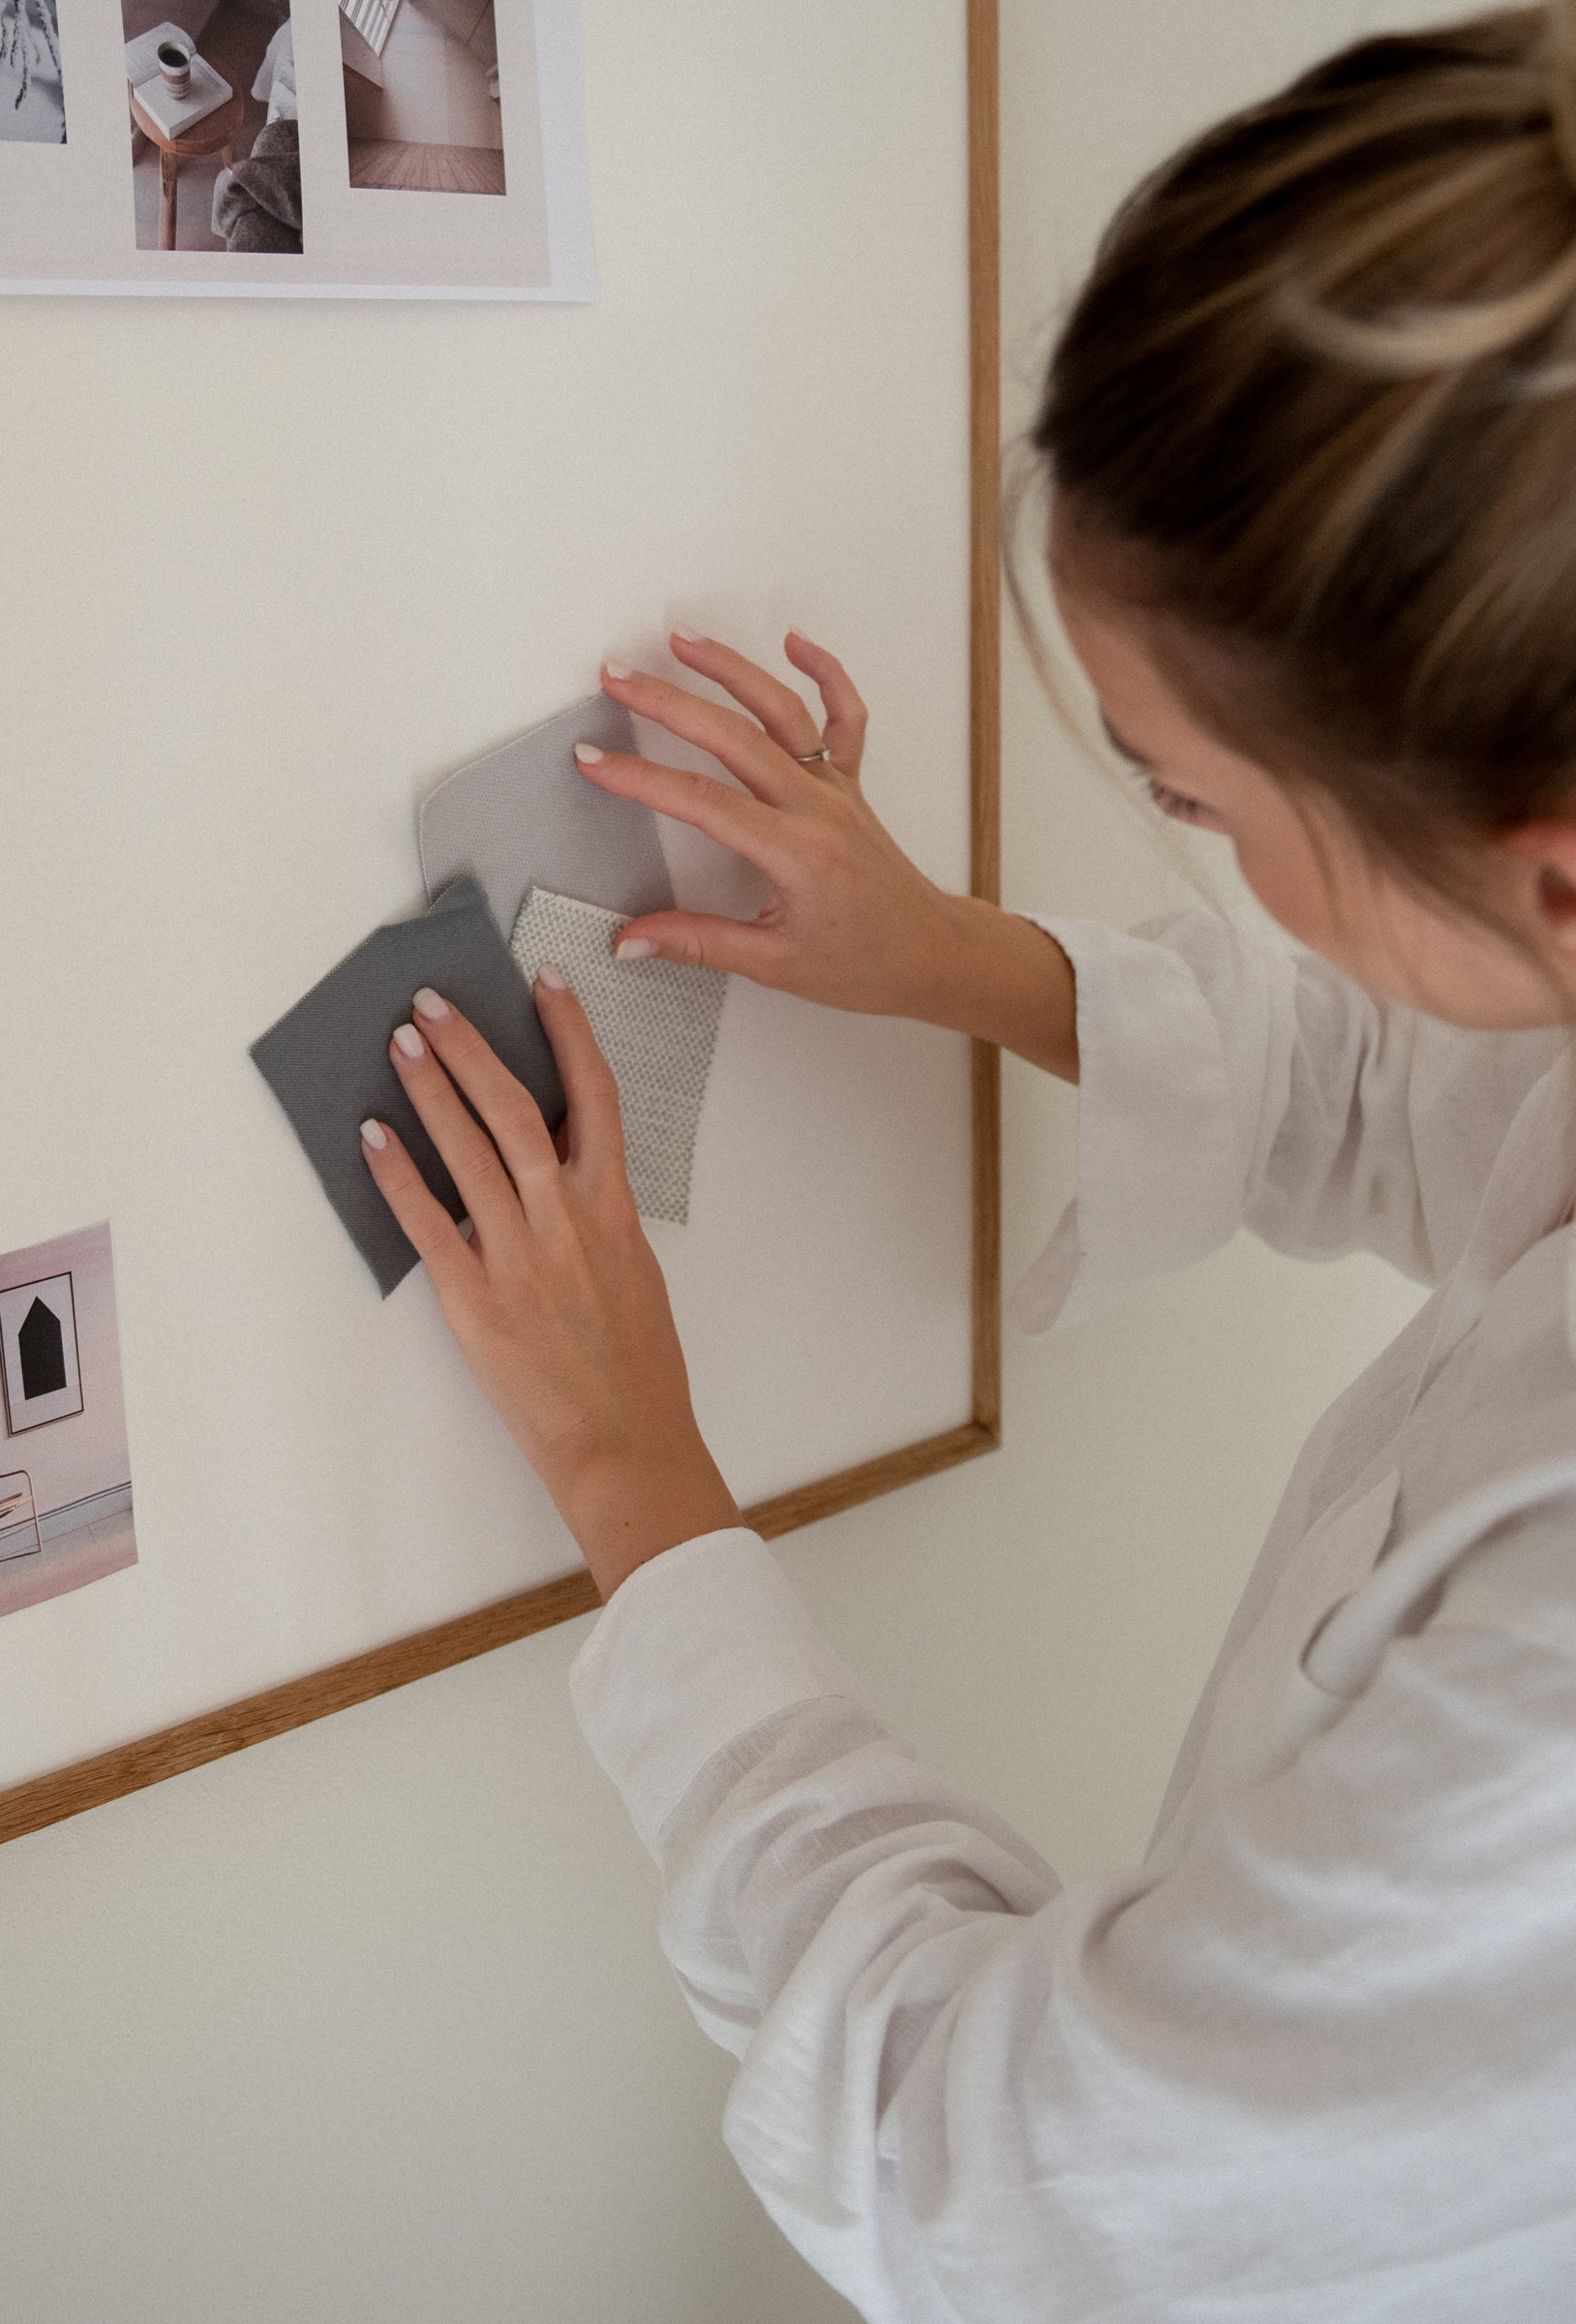
In Canva, you can either create your own pins from scratch, use the templates that Canva offers – remember to read the license agreements – or you can buy Pinterest templates. Use imagery that corresponds with your niche and pin texts. You can use your own pictures or buy stock photos, or create something else, like graphics or drawings. It is up to you, so find out what works best.
Create your pins and write your Pinterest texts. Brainstorm, edit, be honest. Short text and short titles are best because people will see the pins on their phones, and tiny lettering can be challenging for some. And for those who don’t find it a challenge, it can be annoying. And annoying means they will not click on your pin. You got a split second to hook people when they scroll, so the pin should be catchy.
I think your pins should reflect the style of your website and blog. So, if you have a fun, colorful, and perky site, don’t go for beige and black pins with a somber vibe. Colors and fonts should be of the same style as your website and blog, even if not identical. This is just my personal preference, though. You should find out what works best for you.
Hashtags
Write hashtags for every category. It is not necessarily according to Pinterest, but I use them; you never know what the algorithm picks up on. You can find up-to-date hashtags on Best Hashtags.
Start Pinning
And now to the pinning. Apart from the guidelines on Pinterest, there is so much advice out there on how to pin; it can be rather confusing, but good rules could be:
Try not to pin too many pins directing to the same link.
Try not to pin too many pins about the exact same topic in one go.
Pin 1 – 5 pins at a time – don’t just throw 20 pins up there in 5 minutes.
Don’t use the same picture on multiple pins.
Don’t use the same template for all your pins. Reuse, yes, but not a single template for all your pins. Mix and match, find your own style, and remember, people see approximately 9 pins at a time when they view your profile on their phones; try to make it look nice.
Okay, now you are all ready to pin your heart out!

Summing Up:
How To Use Pinterest to Drive Traffic in 10 Steps
Write your content.
Check and update all SEO, categories, and tags to ensure consistency and accuracy.
Create a Pinterest account.
Create Pinterest boards for your blog’s niche/niches.
Save some pins to your new boards.
Create a Canva account.
Create Pinterest pins in Canva or buy templates. Find or create imagery that fits your texts and style.
Write your Pinterest texts – brainstorm, edit, be honest.
Write hashtags for every category.
Pin your heart out!
Pinterest does not replace solid SEO, nor does great pinning replace good content; pins just help people find you. And the better the pin, the greater the chance that someone will click the Read More link, which is the goal.
On that note, thanks for reading. I hope you found it valuable and worth your time. Until next time, remember to get your facts straight!
µ
This post does not contain any affiliate marketing. The suggestions are based on my personal preferences and use.